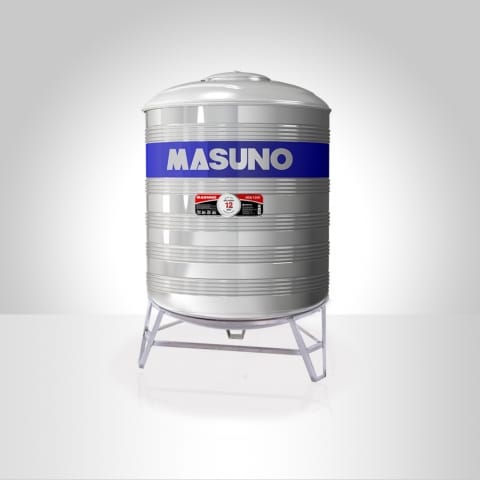
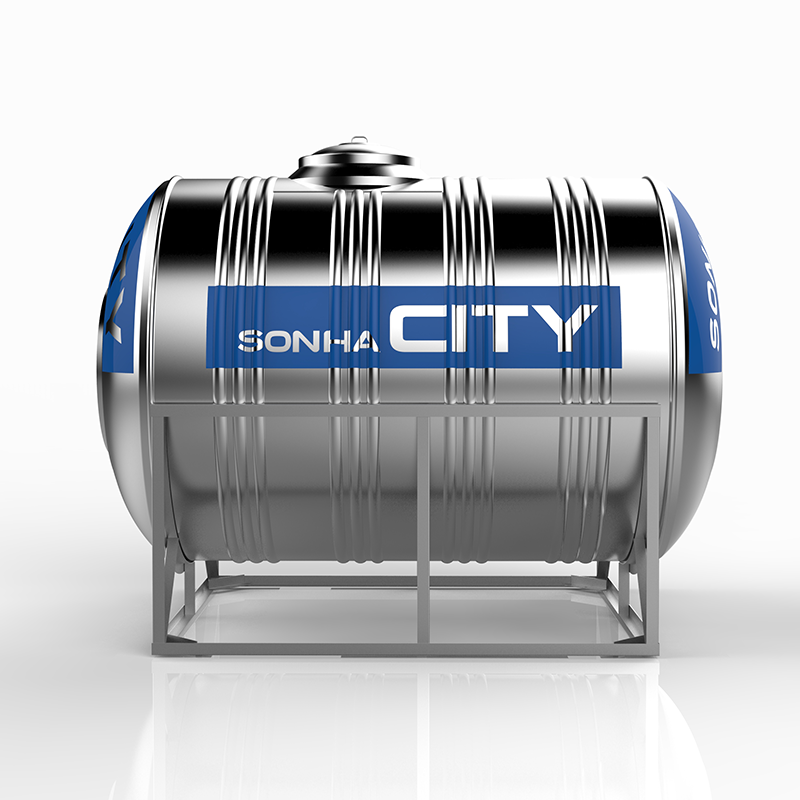
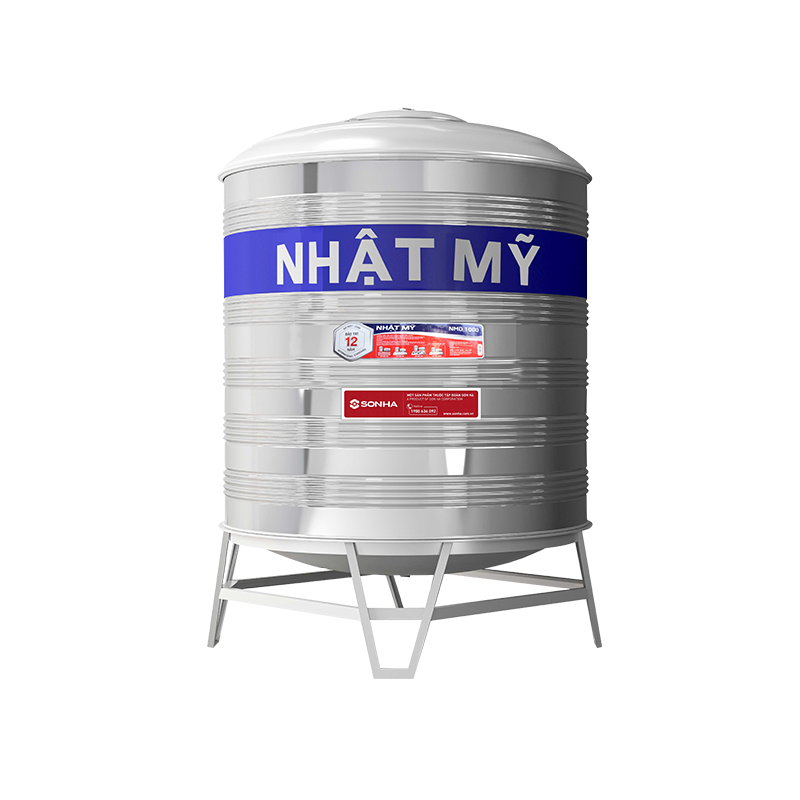
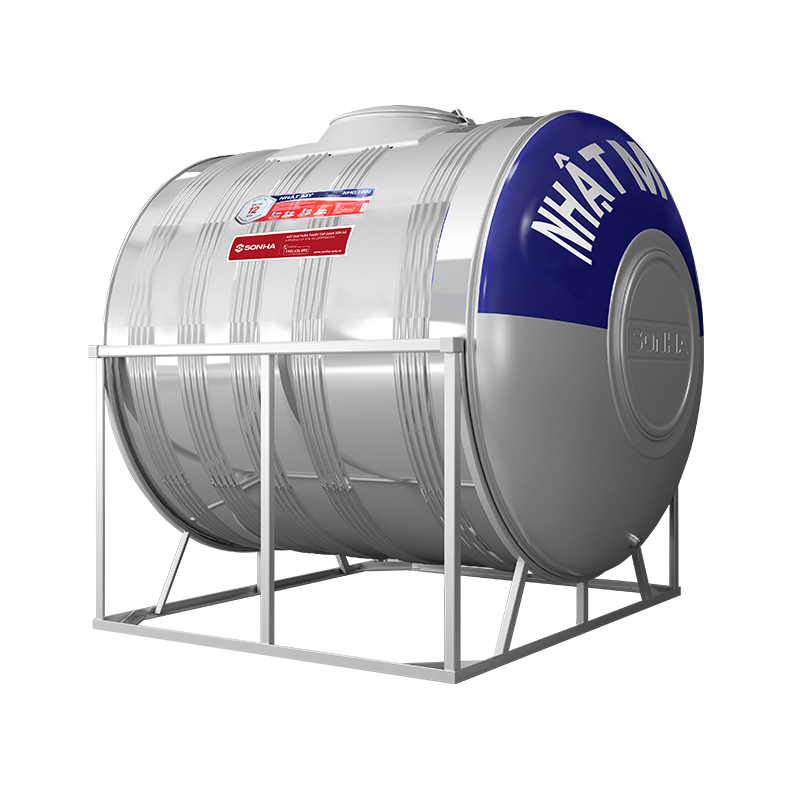
Masuno Standing Stainless Steel Water Tank
Masuno Standing Stainless Steel Water Tank
- Masuno standing stainless steel water tanks satisfy International standards on quality management ( ISO 9001:2008 ), made of SUS 304 super-durable stainless steel on modern lines, directly imported from Japan, creating outstanding quality products.
- The water tank body has 5-double vein blocks on the standard gauge, to increase the stiffness.
- The lock ear of the tank has convenient latch.
Please contact us for advice:
Son Ha Group
Lot CN1, Tu Liem Industrial Zone, Minh Khai, Bac Tu Liem Dist, Hanoi, Vietnam.
Hotline: 1800 6566
|
Steps
|
Contents
|
Devices need to be prepared
|
Detailed guidelines
|
|
Step 1
|
Installation conditions:
Location, plane
|
|
During installation: The installation plane must be secured:
-The base must be placed on the fixed plane.
-Tolerating the tank load when unfilled with water and having safety factor.
-It is noted that the installation is far away from locations that may cause dangers such as electric lines, trees, adjacent to wall edges…
|
|
Step 2
|
Images of accompanied deices and installation devices
|
Electric buoy valve, Electric pliers, duckbill pliers, ice claw, sleeve, wrench, tepflon tape, screw-driver, screw, tape (thermal welding machine).
|
Well-prepared with components and accessories, devices supporting the installation with the most convenient location such as wrench, screw-diver fastening screws connecting with foot bars; electric pliers, duckbill pliers, ice claws.
|
|
Step 3
|
Methods of identifying products, identifying warranty stamp: logo, warranty stamps
|
|
SON HA water tank products have shaper logo, the warranty stamp is directly printed on the product surfaces by electrolysis corrosion technology.
|
|
Step 4
|
Check and fasten inlet, outlet and emptying water heads: Fasten water heads moderately
|
Duckbill pliers, ice claws
|
Check and fasten entrance, exit and emptying water heads. Use duckbill pliers, ice claws turn the thread counter-clockwise until the thread is tightened.
|
|
Step 5
|
Put the feet in the positioning location: Put the feet freely incline, 2 feet getting contact to the plane.
|
|
Put the feet freely incline, 2 feet getting contact to the plane.
|
|
Step 6
|
Fix the tank with the base:
Put the tank bottom on the foot surface, raise both the tank and the base in vertical direction
|
|
Fix the tank with the base:
Put the tank bottom on the foot surface, raise both the tank and the base in vertical direction Gently manipulate to avoid collision causing the tank body crushed, scratched.
|
|
Step 7
|
Position the tank to fit the base rim:
1 hand keeps the tank, the other hand keeps the single vein and gently press it so that the single vein evenly fits surrounding the tank foot
|
|
Position the tank to fit the base rim:
1 hand keeps the tank, the other hand keeps the single vein and gently press it so that the single vein evenly fits surrounding the tank foot
|
|
Step 8
|
Fixture screw for positioning
|
Screw, fixture pad, screw-driver
|
Then tightly turn screw fixture pads to fix the tank with the base to prevent wind, natural disaster from falling the tank down
|
|
Step 9
|
Drill expansion screw hole to fix with the ground: Put the feet in the marks where the expansion screw holes will be drilled at the foot base, drill the hole according to the mark
|
Drill, expansion screws, screw-driver.
|
Mark positions of feet to be place, use concrete drill to drill expansion screw holes to fix the feet with the contact plane in order to fix the base with the tank in prevention of threats.
|
|
Step 10
|
Completion of installation
|
|
To this step we have finished the installation of the stainless steel water tanks on the fixed plane
|
RELATED PRODUCTS


