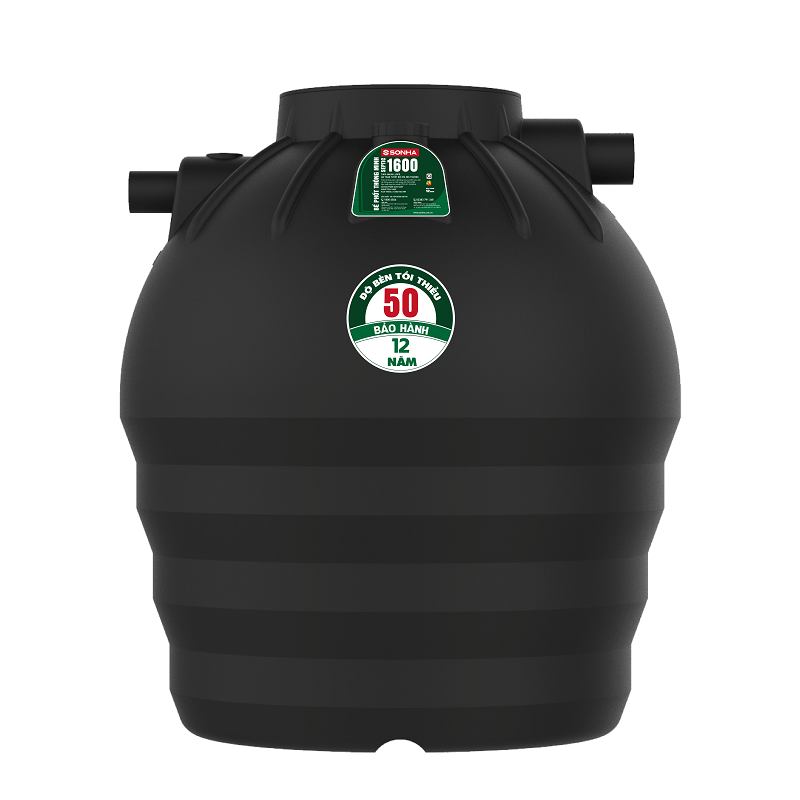
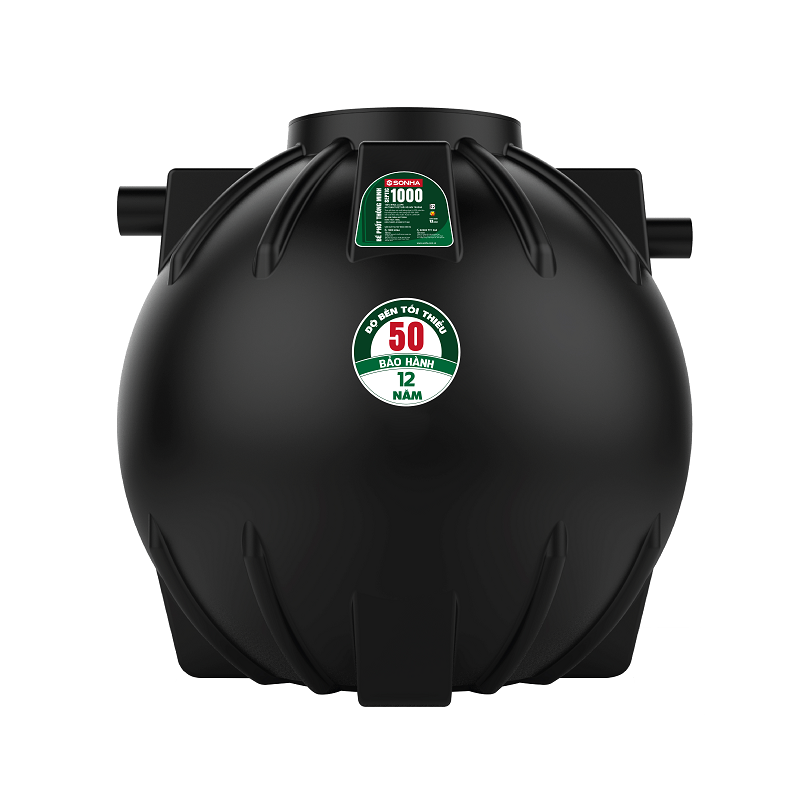
1600-LITER SON HA FILTER SEPTIC TANK
1600-LITER SON HA FILTER SEPTIC TANK
Giá sản phẩm : 7900000
Son Ha Filter Septic Tank possesses outstanding smart features, has advantages which are not available at any products in the market such as:
– Tank body is made from LLDPE plastic material with the thickness of 6-8mm and extremely high endurance and life, completely preventing the risk of leakage.
– The features of filtering, preventing waste from escaping outside to ensure safe waste quality to the environment.
– Design with many load-bearing ribs, stand firmly under any physical impact from the environment, definitely superior.
– Convenient design for installation, maintenance and periodic sedimentation removal.
Please contact us for more information
Instructions for installation of Son Ha Septic Filter
1. INSTALL IN THE GARDEN WITH HOLE DIGGING
Step 1: Survey the installation location
– The top of outlet waste water pipe of Septic tank should be placed higher than the drainage system (about 15cm)
Note: For the Septic tank to work best, install it outside the house and near the waste source
Step 2: Dig pit for installing tank
– Dig a hole with a diameter greater than 30cm compared to the diameter of the tank body
– Clean the pit
Step 3: Pour concrete for pit
– Depth of pit = height of tank, the thickness of concrete bottom layer
– The concrete bottom layer consists of 2 layers:
Layer 1: stone concrete 1×2 M150 with the thickness of 50 mm
Layer 2: concrete stone 1×2 M250 with the thickness of 80 mm, 1 layer D10 @ 200 iron
Note: For tanks with a volume of more than 2000 liters or installed on the soft soil foundation, the bottom must be reinforced against subsidence by pressing piles.
Step 4: Check the tank’s leakage and put the tank into the installation location
– Put the tank on the foundation then fill the tank with water to check for leakage (about 24 hours).
– Then put the tank into the pit, check the outlet water pipe
Note: The outlet pipe must be higher than the sewage system
Step 5: Fix and install inlet and outlet water pipes.
– Align the position of installing the tank in the correct position of the water inlet and outlet pipes of the system
– Connect the flexible hose (Flex) in the water inlet, outlet, then secure them with the tightening belt.
– Pour water into the tank to fix the tank position before inserting sand around.
Step 6: Install the ventilation pipe
– Use an external threaded end of 1 inch (Ø27 or Ø34 mm pipe) and the corresponding pipe to fit into the threaded hole available on the tank.
– Ensure the ventilation pipe must be placed higher than the cover
Step 7: Insert sand around the tank position
– Insert sand around the gap between the tank and the pit, then water it several times to ensure natural sand compression.
Note: Do not insert soil, gravel, concrete, garbage, wood, or sharp pointed materials around the tank
Step 8: Pour the probiotics into the tank and install the tank cover
– When finished installing, pour the probiotics into the tank, then tighten the cover with screws, lock and seal with silicon.
Recommendation: In case of Septic tank buried deep against the ground surface, the depth must not exceed 25cm.
– Pour concrete around the tank cover.
– Build walls 10 cm around the tank top to the ground
– Pour concrete slabs on top.
2. INSTALLION ON THE GROUND
Note: The inspection steps for installing tank are similar to the cases of installing the tank in the garden with digging holes, installation location is defined basing on the figure below.
3. INSTALLATION UNDER HOUSE FLOOR
Note: The inspection steps for installing tank are similar to the cases of installing the tank in the garden with digging holes, installation location is defined basing on the figure below.


